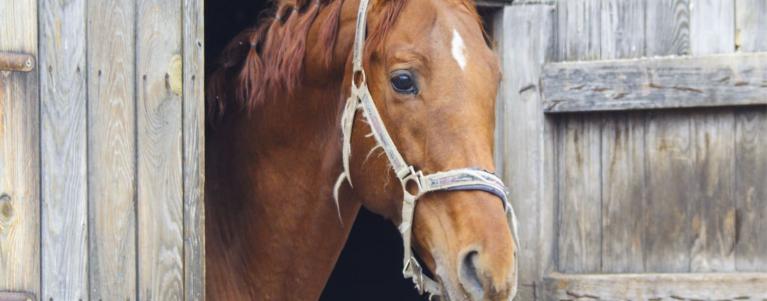
Horse-owners want the best for their equine best friends. Building homemade DIY horse stalls allows horse-owners to provide the best comfort and care for their animals. A DIY horse stable is a great solution for avoiding expensive boarding costs, keeping the horses at home, making monitoring and training seamless, and providing the best care. Owning and caring for horses can be an expensive endeavor. Thankfully, you do not have to spend a lot of money to build any number of homemade horse stall ideas.
What to Know When Building a Horse Stall
Before you begin building DIY horse stalls, there are a few important things you need to know.
Location
The first step in creating a horse stall is to choose a location. The DIY horse stall needs to be on or near your property so that you optimize convenience and get to spend the most amount of time with your equine friends. If your horse stall is close to your home, you can look out the window to check on the horse.
Another important location factor to consider is the quality of the land. Some locations are prone to flood and vulnerable to high winds. Make sure to place your horse stall in a safe location that is not exposed to inclement weather. The soil needs to be level and well-drained to prevent flooding.
Additionally, be sure to check the real estate zoning laws in your area. Some neighborhoods restrict the type and number of animals that owners can have on the property.
Size
Although space requirements differ from breed to breed, the average horse needs at least 12 x 12 feet of space to be comfortable and happy. The horse should be able to move around the space and lay down completely without touching the walls of the stall. Keep in mind that you will also need to allow room for hay and tack storage, feeding stalls, and grooming.
Features
A horse stall can be simple, complex, or anything in between. It can be tempting to add luxury features to your DIY horse stall, but that will quickly become expensive. Horses do not need a lot to be happy, so you can stick to the essentials and save money. It is important not to skimp on the quality of materials. Use pressure-treated lumber and a high quality ONDURA roof to ensure your horses have the best possible shelter.
Homemade Horse Stall Design Ideas
Horse stalls come in a variety of designs, but traditional and barn-styles are the most common. Traditional stables can sometimes consist of complex, expensive layouts. However, the run-in shed is a simple design that is easy to build and comfortable for the horse. A run-in shed has three sides and an open front. Another horse stall design idea to consider is the shedrow. A shedrow is a row of horse stalls that open to the outdoors and have a smaller profile. If you have multiple horses, a round horse shelter is an important style to consider. In a round shelter, each stall can have an exterior door and the center space can hold the hay and other necessities.
Tools & Materials for Building a Horse Stall
Materials
- Pressure-treated wood 2x4s
- Metal posts
- Plywood sheets
- Wood screws
- Hinges, latches, and handles
- Windows
- Doors
- Nails
- ONDULINE® ONDURA® roofing sheet
- ONDULINE® screws
- Cement
Tools
- Drill
- Hand or circular saw
- Hammer
- Pencil
- Measuring tape
- Sand paper
- Staple gun
- Work gloves and protective goggles
- Level
- Shovel
Steps in Building a DIY Horse Stall
While DIY horse stalls come in a few different shapes and sizes, there are a few critical steps involved in building a basic, sturdy horse stall.
- The first step is to select or create your design. Take note of the measurements, all necessary tools and materials, and the quantity of materials needed.
- The second step is to acquire all the tools and materials needed for the project.
- Dig the holes to sink your metal posts for the structure into the ground. Position the posts inside the holes and fill the space with dirt, gravel, or cement.
- Construct the frame of the horse stall structure.
- Build the panels that will form walls of the horse stalls.
- Connect the panels to the posts to create an enclosed space.
- Once the walls are erected, it is time to add the roof. For a quick and easy installation, follow the Ondura Premium Installation Guide.
- Install doors, windows, and any additional features you need to complete the horse stall.
- Finally, celebrate the completion of your DIY horse stall with a grand-opening ceremony. Invite your horse to your shelter and allow them to enjoy their new home!
Now you know how to build a horse stall!
For more DIY inspiration and high-quality materials, visit the Onduline site today.